
A webcam recording is the simplest kind of video to make and one of the easiest to get wrong. The camera itself is usually fine, even a modest built-in laptop camera can produce a watchable video, but bad framing, harsh backlight, a noisy room or a microphone placed too far away can make the result hard to watch, and none of those problems are fixed by buying a more expensive camera. OBS Studio gives you the tools to get the basics right: it captures your camera as a source you can position, resize and filter, mixes it with your microphone, and saves the result as a clean video file, all for free. OBS Studio is free and open-source software, and the latest version is 33.0.1, released on October 29, 2026. This guide covers the whole process, from plugging the camera in to saving a recording you would be happy to share, whether the webcam is the whole video or a small picture-in-picture beside your screen.
What you can do with a webcam in OBS
In OBS, a webcam is added as a Video Capture Device source, and once it is in a scene you can use it in several ways. The most direct is a talking-head recording: the camera fills the frame while you speak to it, which suits introductions, lessons, vlogs, video messages and reaction videos. The second is picture-in-picture: the camera sits in a corner while the main picture is your screen or a game, which is how most tutorials and gameplay videos add a human presence without losing the content. The third is a camera-only stream or recording for meetings, interviews and podcasts with video, where the picture switches between two cameras or between a camera and a shared screen. All three use the same source and the same settings, so learning one teaches you the others.
OBS also lets you improve the camera picture beyond what the camera produces on its own. You can crop the image to remove the edges of the frame, apply filters such as colour correction to fix a picture that looks too warm or too cold, and add a chroma key filter if you record in front of a plain green background and want to replace it. You can combine the camera with images, text and screen captures in the same scene, so a lesson can show your face, a title and a slide at the same time. And because OBS records locally, you keep a full-quality master file to edit afterwards, rather than a compressed copy from a meeting app. If you are new to OBS entirely, read our beginner guide on how to use OBS Studio first, it explains scenes and sources, which this guide builds on.
Connecting and checking your camera
Start with the physical setup before opening OBS. If you use an external webcam, plug it into a USB port on the computer itself rather than an unpowered hub if you can, because hubs sometimes cause disconnects, and place the camera at eye level, centred on your face. A camera looking up from a laptop on a desk gives an unflattering angle and shows too much ceiling; raising the laptop on a stand or a stack of books so the lens is level with your eyes makes an immediate difference. If you use a built-in laptop camera, the same rule applies: raise the laptop. Check that the lens is clean, a fingerprint on a webcam lens is a common cause of a soft, hazy picture, and that nothing is covering it, such as a privacy shutter or a piece of tape you forgot about.
Next, confirm the computer recognises the camera. On Windows, open the Camera app and check that the picture appears; on macOS, open Photo Booth or FaceTime and do the same. If the camera does not appear there, OBS will not see it either, and the problem is with the connection, the driver or the camera itself, not with OBS. Close any other program that might be using the camera before you open OBS, because on most systems only one application can use a webcam at a time: if a video-call app is holding the camera, OBS will show a blank or frozen picture. The same applies in reverse, if OBS is using the camera, a meeting app may not be able to open it. On macOS, OBS may need Camera permission the first time you add a camera; grant it in System Settings and restart OBS if prompted.
Adding a Video Capture Device source
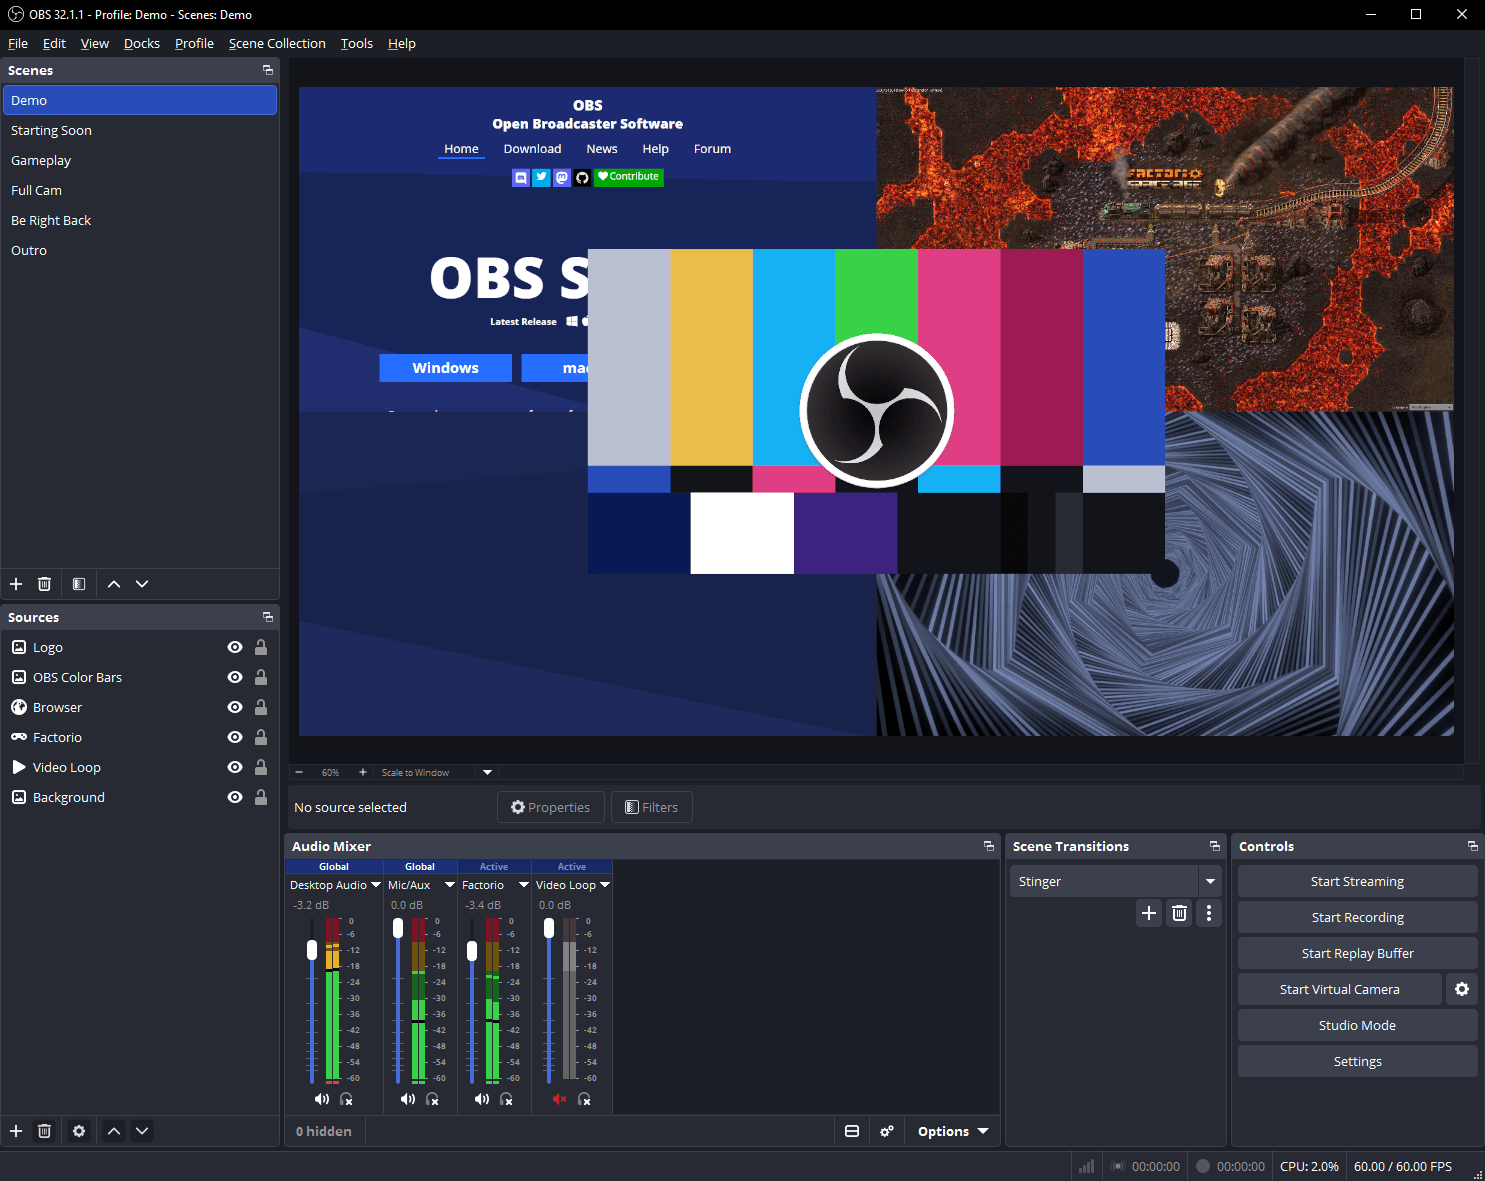
Adding a camera in OBS takes less than a minute. Create or select a scene, call it "Webcam" for a camera-only recording, then click the plus button under Sources and choose Video Capture Device. Give the source a clear name, such as "Webcam", and in the properties window choose your camera from the Device list. The picture should appear in the preview immediately. If it does not, check the device list again: a computer with a built-in camera and an external one will list both, and it is easy to pick the wrong one. The properties window also lets you choose the resolution and frame rate the camera sends to OBS; the defaults are usually fine for a first recording, and section four explains when to change them.
If the picture appears but fills the whole preview, that is normal: a camera source starts at full size, and you resize it by dragging its red corners in the preview. For a camera-only recording, leave it filling the frame, or use Transform and then Fit to Screen to make it exact. For a picture-in-picture layout, shrink it and drag it into a corner. The order of sources in the Sources list matters: a source higher in the list appears in front of those below it, so a webcam placed below a full-screen display capture will be hidden. Drag the webcam above the screen capture if you want it visible. If you want the same camera in several scenes, add the source once and choose "Add Existing" in the other scenes, rather than adding a new device each time, two sources using the same camera can conflict.
Framing, resolution and camera settings
Good framing is simple: your face should be in the upper half of the picture, with a little space above your head, and your shoulders visible at the bottom. That is the classic head-and-shoulders shot, and it works for lessons, introductions and interviews because it feels like a conversation. Sit at a comfortable distance, too close and the camera distorts your face, too far and you become a small figure in a large room. Look at the lens, not at your own picture on the monitor, because looking at the lens is what makes eye contact with the viewer. If you keep glancing at yourself, move the preview window or shrink it so the temptation is smaller. Check the edges of the frame for distractions: a bright object, a messy shelf or a second person half in shot will pull attention away from you.
Recording webcam alone or with your screen
A webcam-only recording is the simplest setup in OBS: one scene, one Video Capture Device source filling the frame, and a microphone. It suits talking-head lessons, video messages, introductions and auditions. Build the scene, check the preview, speak a test sentence and watch the audio meter, then press Start Recording. Because there is nothing else on screen, the viewer's attention is entirely on you, so framing, light and background matter more than in any other kind of recording, there is no screen content to hide behind. Record a short test and watch it on a different screen if you can, because a framing problem that is invisible on your own monitor is obvious on a phone.
Picture-in-picture is also how most creators combine a camera with other content: our guides to recording your screen with OBS and recording gameplay with OBS explain the screen and game sources that sit behind the webcam.
Audio to go with your webcam video
Viewers forgive a modest camera far more readily than they forgive bad audio, so the microphone deserves as much attention as the picture. The microphone built into a webcam or a laptop is usable in a quiet room, but it picks up room echo, keyboard noise and fan hum, and it sits far from your mouth, so your voice sounds distant. A separate microphone, a USB microphone on the desk, a headset microphone, or a lavalier clipped to your shirt, almost always sounds better, because it is closer to your mouth and designed for voice. Connect it before opening OBS, then add it as an Audio Input Capture source or select it in Settings under Audio as a Mic/Auxiliary device. Do not do both, or the same microphone will be captured twice and sound doubled.
For microphone choice, placement and filters in more depth, see our guide to recording audio with OBS and the OBS audio settings guide.
Saving, checking and reusing your setup
When you click Stop Recording, OBS saves the file to the Recording Path in Settings, then Output. Open the folder from the File menu with Show Recordings, and watch the file in full, or at least the beginning, a middle section and the end. Check the framing, the light, the sharpness, the audio clarity and the sync between your lips and your voice. If the video looks good on your monitor but you plan to share it widely, watch it on a phone too, small screens reveal framing and focus problems that a large monitor hides. If the recording is in MKV and your editor prefers MP4, use File, then Remux Recordings to convert it without re-encoding. Keep the original file until the edited version is finished and shared, because re-recording a good take is rarely as good as the first one.
Common mistakes
The most common webcam mistake is bad light: a bright window behind you turns you into a silhouette, and a dark room makes the camera raise its gain and produce a noisy, grainy picture. Face the light, and check the preview before recording. The second is the camera angle: a laptop camera looking up from a desk is unflattering, so raise the camera to eye level. Third, using the webcam's built-in microphone from across the room, which sounds distant and echoey, use a separate microphone close to your mouth. Fourth, adding the same camera twice in different scenes as two new devices instead of using "Add Existing", which can cause conflicts. Fifth, placing the webcam over important screen content in a picture-in-picture layout, hiding buttons or health bars. Sixth, recording in MP4 and losing the file to a crash; use MKV while learning. Seventh, forgetting to check that another app is holding the camera, so OBS shows a blank picture. And finally, skipping the test recording, ten seconds of checking saves a full session recorded out of focus, too dark, or silent.
Troubleshooting
If the camera picture is blank in OBS, check that no other program is using the camera, that the right device is selected in the source properties, and that the camera works in the system camera app. If it works there but not in OBS, try a different USB port, restart OBS, and check camera permissions in your operating system settings. If the picture is frozen, the camera may have disconnected, unplug it and plug it back in, and avoid unpowered USB hubs. If the picture is dark or grainy, add light in front of you rather than raising any gain or brightness setting in OBS, because light fixes the cause while gain only amplifies the noise. If the picture flickers, try a different frame rate in the source properties, as the flicker is often a mismatch with room lighting.
Frequently asked questions
Can I record just my webcam with OBS, without the screen?
Yes. Create a scene with only a Video Capture Device source and a microphone, let the camera fill the frame, and press Start Recording. That is the simplest webcam recording in OBS, and it suits talking-head videos, introductions and video messages.
Why is my webcam black in OBS?
A black webcam usually means another program is using the camera, the wrong device is selected in the source properties, or the operating system has not granted OBS camera permission. Close other camera apps, check the device list, grant permission in system settings, and restart OBS.
Can I record my webcam and my screen at the same time?
Yes. Add a Display or Window Capture for the screen and a Video Capture Device for the webcam in the same scene, shrink the webcam, place it in a corner, and make sure it is above the screen capture in the Sources list so it appears in front.
Do I need an expensive webcam for good OBS recordings?
No. Light, framing and audio matter more than the camera's price. A modest camera at eye level, facing a window or a lamp, with a separate microphone close to your mouth, produces a better video than an expensive camera in a dark room with a distant microphone.
How do I make my webcam look better in OBS?
Face a light source, raise the camera to eye level, tidy the background, and frame yourself head-and-shoulders with a little space above your head. In OBS, a small colour-correction filter can help, but avoid heavy filtering. Always record a short test and watch it back before the real session.
Conclusion
Recording your webcam with OBS is a short routine once the setup is done: put the camera at eye level, face the light, tidy the background, add the camera as a Video Capture Device, frame yourself head-and-shoulders, add a microphone close to your mouth, and record a ten-second test before the real session. Use the camera alone for talking-head videos, or shrink it into a corner over your screen or game for picture-in-picture. Keep the resolution modest, record in MKV while you are learning, and save your scene so the same good setup is ready next time. The camera matters less than the light, the framing and the sound, get those three right, and even a modest webcam produces a video you will be happy to share.